Pick-path batching and zone balancing are often discussed as competing approaches in warehouse robotics optimization. The framing suggests you pick one. In our experience deploying Botpylon across fulfillment floors of varying sizes, the better question is how to apply both in sequence, because they solve different problems that both need to be solved.
Batching is about individual robot efficiency: how many order lines can one robot fulfill before returning to deposit, and in what sequence should those picks happen to minimize total travel distance. Zone balancing is about collective fleet efficiency: how should the active fleet be distributed across the floor at any given moment so no zone is overloaded with robots while another sits empty. These are orthogonal optimizations. Doing one well without the other leaves significant throughput on the table.
Pick-Path Batching: What It Is and Where It Helps
A pick batch is a group of order lines assigned to a single robot as a single task sequence. The batching algorithm decides which order lines travel together and in what order the robot visits the pick locations. The naive version of this is just shortest-path sequencing within a batch, minimizing total robot travel distance. That's better than random, but it ignores a critical variable: what all the other robots on the floor are doing simultaneously.
The efficiency ceiling for single-robot batch optimization is real but limited. On a 200-SKU floor where most orders pull from a high-density middle zone, batching optimized only for individual travel distance tends to send many robots into the same zone at the same time, because the optimal individual path leads through that zone for most batches. The robots are each traveling efficiently. The floor is not operating efficiently.
Where batching genuinely shines: batch size tuning. Most operations run fixed batch sizes (8-12 order lines per robot is common) based on payload capacity. The actual optimal batch size depends on pick density in the current task queue. If the next 200 order lines are spread evenly across all zones, larger batches reduce deposit trips without adding travel. If the queue is heavily concentrated in two zones, smaller batches with faster deposit cycles keep robots from clogging those zones. Batch size should be dynamic, not fixed.
We've seen operations where moving from fixed 10-line batches to dynamically sized 6-14 line batches (based on task queue density analysis) reduced per-robot travel distance by about 12-15% while maintaining the same throughput rate. Not dramatic, but consistent.
Zone Balancing: The Fleet-Level Problem Batching Ignores
Zone balancing asks a different question: given the current robot positions and the pending task queue, how should new task assignments be distributed to keep robot density roughly even across the floor's active zones?
Without zone balancing, robot distribution tends to follow task density: if 60% of pending picks are in zones C and D, 60% of robots end up in zones C and D. This creates a hotspot that slows all robots in those zones (through congestion, waiting at pick locations, and deposit queue backup) while zones A, B, and E have robots sitting idle or traveling empty distances to reach their assignments.
Zone balancing corrects this by factoring current zone occupancy into the task assignment decision. When zone C is already at 80% of its comfortable robot density (we calculate this based on aisle width, robot dimensions, and typical pick dwell times), the next robot that needs a pick in zone C gets assigned a pick from a lower-density zone first, delaying the zone C assignment until occupancy drops. The robot travels slightly more total distance in some cases, but the fleet as a whole moves faster because no zone is saturated.
The tradeoff is real: zone balancing can increase individual robot travel distance by 5-10% in exchange for reducing fleet-wide congestion stops by 30-50%. Whether that trade is worth it depends on whether your primary constraint is robot travel efficiency or throughput capacity. For most fulfillment floors running 60+ robots, congestion is the binding constraint, not individual travel efficiency. Zone balancing improves what matters more.
How We Run Both in Sequence
The Botpylon approach runs batching and zone balancing as two sequential optimization passes over the pending task queue.
Pass one is batch construction: group order lines into candidate batches using spatial proximity and batch-size constraints derived from the current queue density. This produces a set of candidate batch assignments that are individually efficient but not yet scheduled against the floor state.
Pass two is zone-balanced release: before sending a candidate batch to a robot, check the current occupancy of all zones the batch will traverse. If any of those zones are above occupancy threshold, the batch is either held briefly (if the zone is expected to clear within the next dispatch cycle) or the batch composition is adjusted to pull from lower-density zones. This pass also staggers release timing to avoid the synchronized surge problem described in our congestion piece.
The two passes interact. A batch that was constructed as individually efficient in pass one sometimes gets modified in pass two to serve zone-balancing goals. We track how often pass-two modifications add travel distance relative to pass-one results. In practice, on floors with 50+ robots, pass-two modifications increase average robot travel distance by about 7% but reduce total congestion-stop time by enough that net throughput improves. The crossover point is around 35-40 robots: below that, floor density is low enough that zone balancing overhead costs more than it saves.
A Scenario: 120-Robot Floor, Two-Zone Congestion Problem
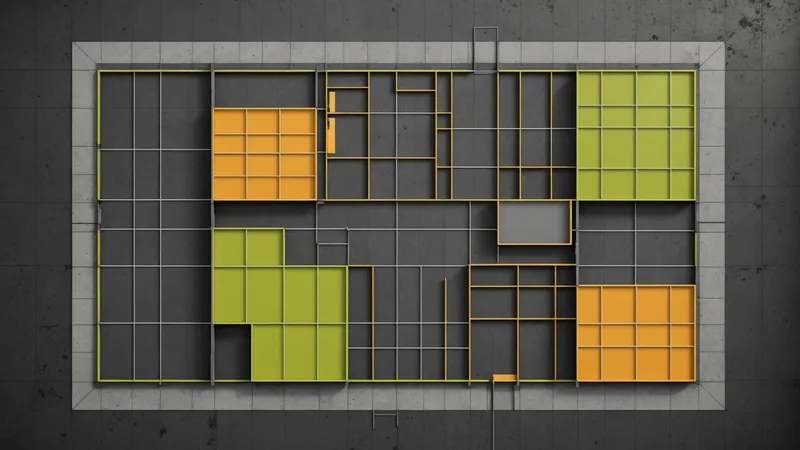
Consider a fulfillment operation handling roughly 6,000 order lines per 10-hour shift across 120 AMRs. The floor has six pick zones plus a transit corridor. Historical data shows persistent robot density spikes in zones 2 and 4 during the 90-minute windows after each of the two mid-shift pick batch releases the WMS pushes.
Running batching alone, without zone balancing: the batching algorithm correctly minimizes travel distance for each robot, but all robots assigned to the WMS's highest-activity zones arrive in those zones simultaneously. Congestion stops in zones 2 and 4 run at about 45-60 per release window. Zone 6 often sits at 35-40% utilization during the same windows because the pending queue there is thinner.
Adding zone balancing to the batch release layer: during the high-density windows, some robots that would go directly to zone 2 or 4 are first routed to zone 6 picks, then to zone 2 or 4. Robot travel distance increases by about 8% for those assignments. But congestion stops in zones 2 and 4 drop to 12-18 per window. Zone 6 utilization rises to 60-70%. Total shift throughput increases because the robots that previously spent time stopped in congestion are now completing picks in zone 6 instead.
We're not suggesting that 8% extra travel distance is free or that it doesn't matter. For operations where robot battery life is the binding constraint, every meter matters. The point is that for congestion-limited operations, which describes most high-density fulfillment floors, throughput is more sensitive to congestion reduction than to individual travel optimization.
What Neither Strategy Fixes
Batching and zone balancing both operate on the task assignment layer. Neither addresses physical chokepoints in the floor layout, robot speed mismatches between fleet types, or pick-location slot assignment within the WMS (where high-velocity SKUs are physically located matters enormously and is upstream of dispatch).
If your most popular 500 SKUs are all concentrated in the same two aisles because of how slotting was done, no amount of batching or zone balancing will fully solve the congestion problem in those aisles. You'll still see improvement from better dispatch, but the ceiling is lower. Slotting optimization and dispatch optimization compound: good slotting reduces the inherent traffic concentration problem, and good dispatch reduces congestion given whatever traffic concentration exists.
The correct sequencing for floor optimization is usually: fix the worst slotting problems first, then optimize dispatch. We focus on dispatch because that's what Botpylon does, but we tell operations teams that slotting is out of scope for us and worth reviewing if the floor has obvious SKU-distribution problems. Dispatch optimization applied to a poorly slotted floor still helps. It just helps less than it would if the underlying distribution problem were also addressed.
Choosing Batch Size Parameters for Your Operation
If you're tuning batching parameters for the first time, the most important thing to calibrate is the relationship between task queue density and batch size. Run your current batch configuration for two weeks while logging per-zone robot density every 15 minutes. Look for zones that are consistently above 70% of comfortable density at peak and consistently below 40% at the same peak time. That disparity tells you zone balancing is underweighted relative to batching in your current setup.
Second, log deposit cycle times. If robots are spending more than 18-20% of their shift in transit to or from deposit (without picks in hand), your batches may be too small relative to pick density. Larger batches reduce empty-transit time but increase the per-robot zone concentration problem. The right batch size is the one that minimizes empty transit without causing zone saturation. That number is specific to your floor and shifts with your SKU velocity distribution over time.
The general principle: optimize for individual robot efficiency first to set a floor on waste, then apply zone balancing to handle the fleet-level constraint that individual optimization ignores. Neither approach alone gets you to the throughput ceiling. Both together, tuned to your specific floor dynamics, comes significantly closer.